
In this article we will see how to set up RabbitMQ in windows OS

Erlang Installation:
- First Install Erlang OTP Versions Tree (erlang.org) as it is pre-requisite for Rabbit MQ. Currently maint-25 is latest release and it can be changed when you install Erlang.

- Double click on Erlang Setup and follow the steps
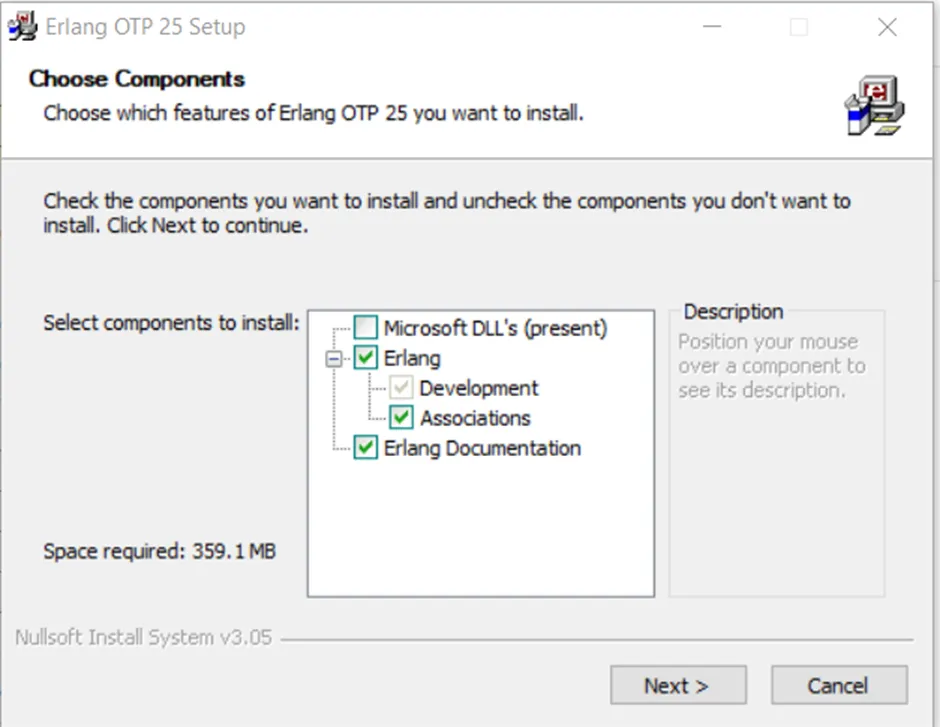
- Click Next and follow the flow and it will be installed.
- RabbitMQ Installation:
- Go to Installing on Windows — RabbitMQ and download Rabbit MQ and its version can also change at your time.
- RabbitMQ Installation:

- Double click on RabbitMQ setup and follow the steps

- Click Next and then choose the location (by default it will be in ProgramFiles)
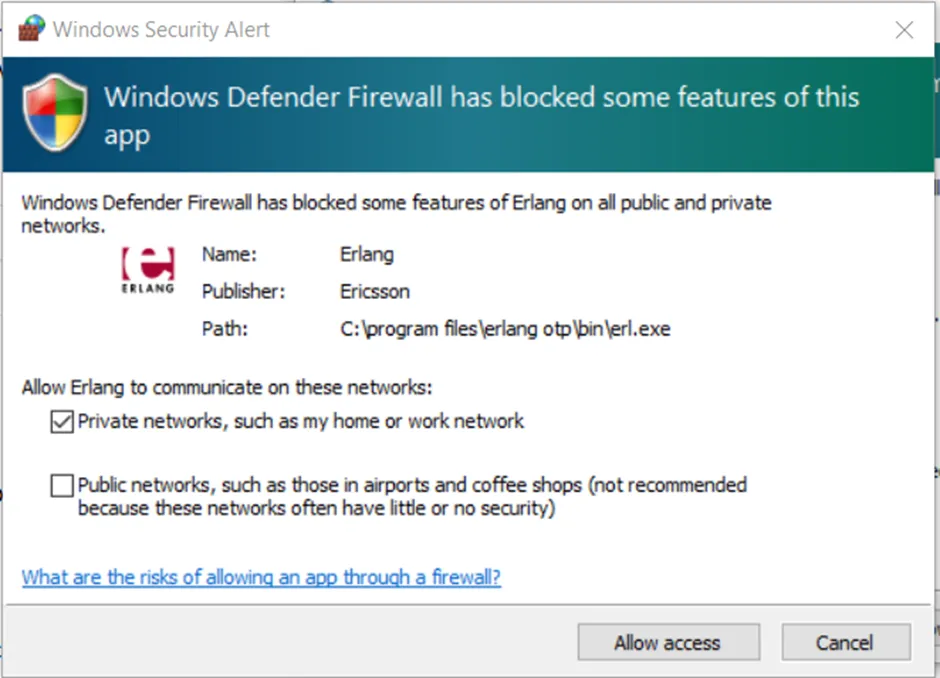
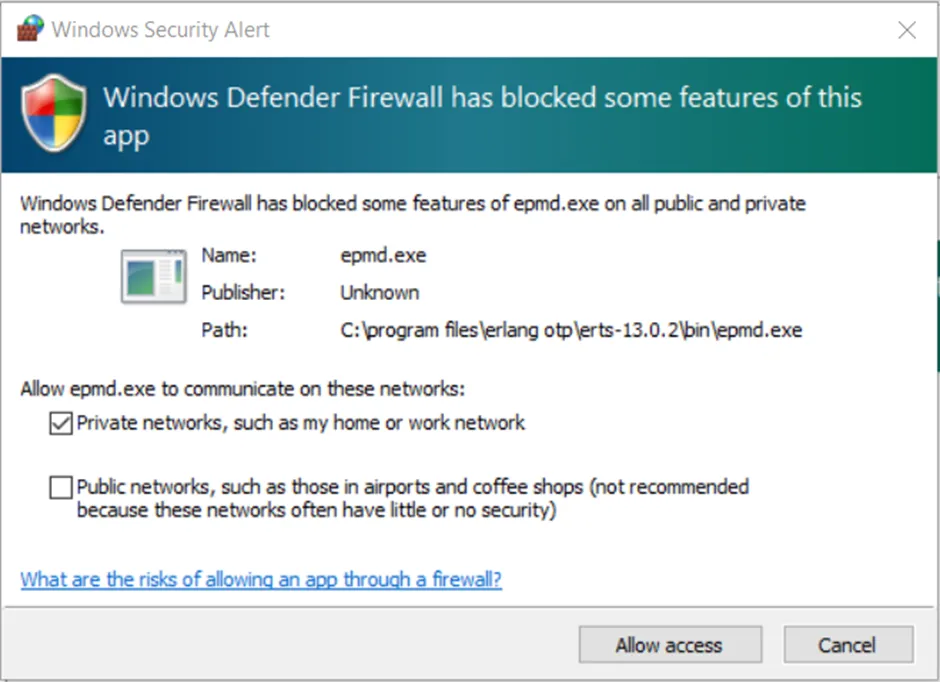
- Click Next and during installation Windows Firewall pop-ups can come, you can simply click on Allow Access and it will be installed successfully.
- Rabbit MQ is now installed successfully. You can view it from start menu

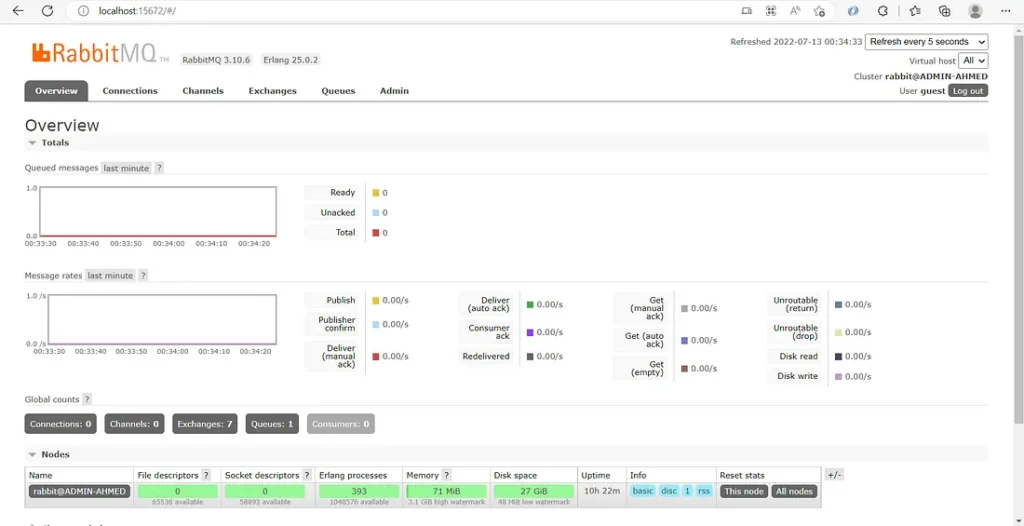
You can also enable the RabbitMQ UI by opening the following app and then type: rabbitmq-plugins enable rabbitmq_management . Default URL is http://localhost:15672/ and default username and password is guest.

Conclusion:
In this article, we have seen how to setup RabbitMQ in windows OS and in the next article I will explain how to use RabbitMQ with Steeltoe RabbitMQ wrapper. If there is any confusion you can email me at se.ahmedanwar@gmail.com